You can convert VHS tapes to digital at home using a working VHS player, an analogue video capture device, a computer and compatible recording software. The player runs the tape while the capture device sends its picture and sound to the computer, where you save a video file.
What equipment do you need?
Start by checking what you already have:
- **A compatible VHS player:** it must be working properly and suitable for your recording.
- **An analogue capture device:** choose one that accepts the video output from your player.
- **Video and audio leads:** these carry the recording between the player and capture device.
- **A computer with supported software:** check the capture manufacturer's current operating-system requirements before buying.
- **Space for the files and a separate backup:** decide where each finished recording will go.
For example, Elgato's input guide describes composite and S-Video connections, plus a SCART adapter for suitable European players. Composite uses a yellow connection for the picture and separate red and white connections for sound. Check your actual sockets and device instructions; an HDMI-only input is not a direct match for a VCR's analogue output.
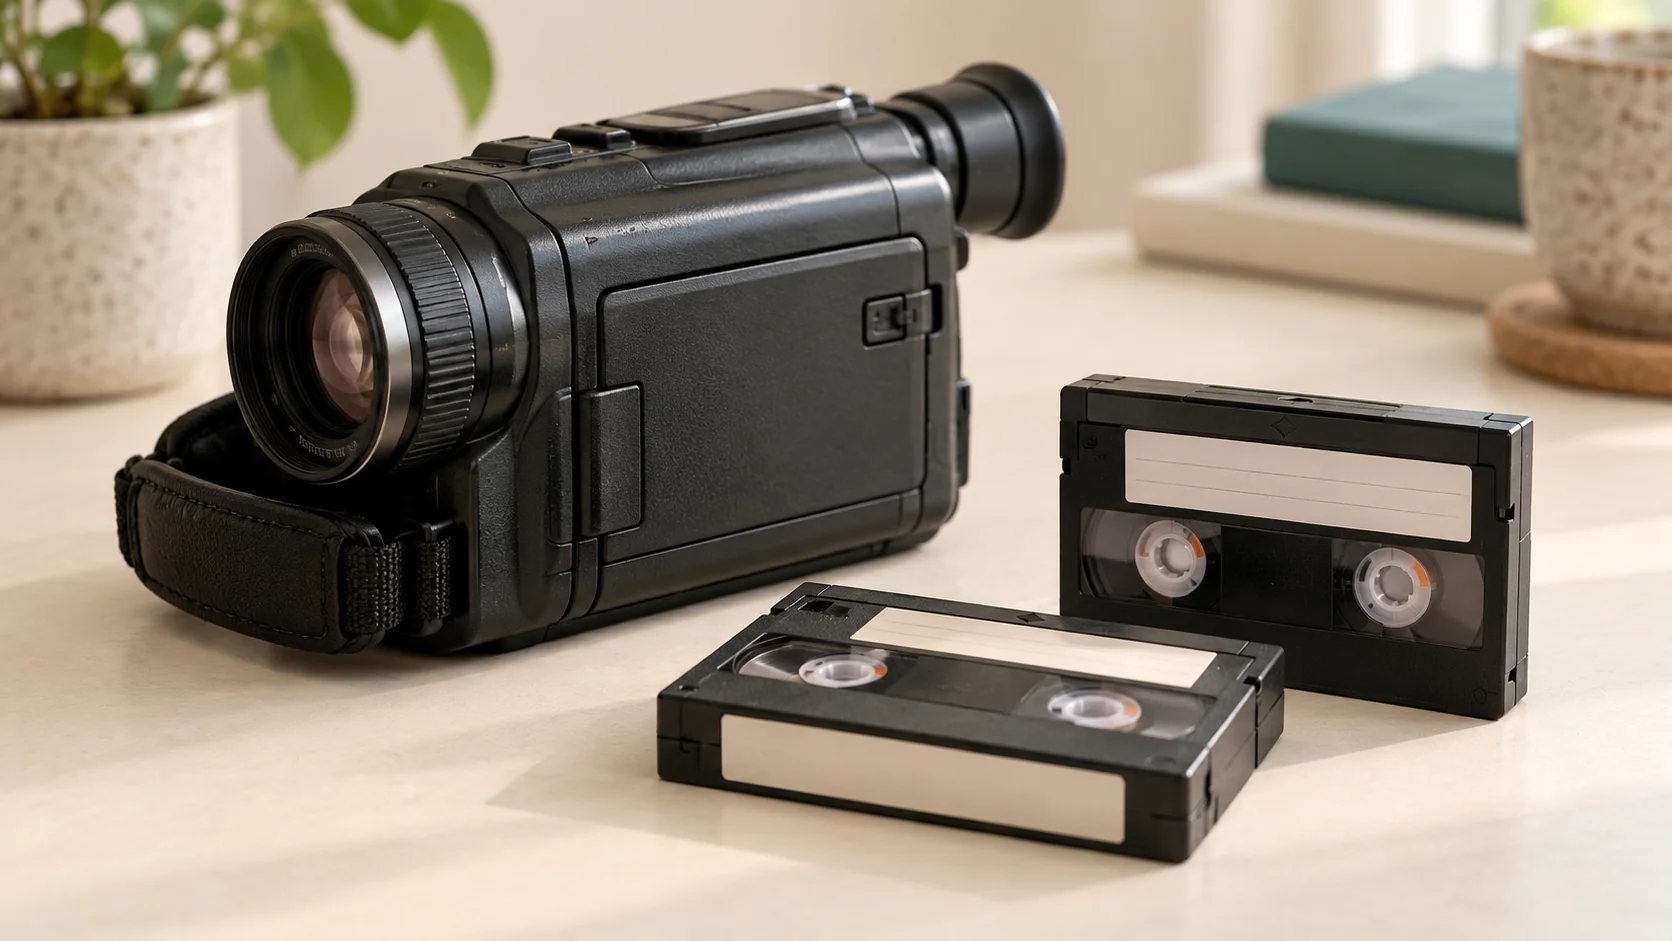
If your cassette is labelled VHS-C, MiniDV or Hi8, identify it first. These are different formats, so do not assume a full-size VHS player is suitable. Our tape identification guide helps you choose the right starting point.
How do you record a VHS tape on a computer?
The exact controls depend on your capture device, but the basic process is:
1. **Connect the player to the capture device.** Use the player's output sockets and the capture device's corresponding inputs, following their manuals. 2. **Set up the recording software.** Select the capture device and check that both picture and sound arrive. 3. **Make a short test recording.** Open the saved test and check the audio and picture before committing to the full tape. 4. **Record the material you want to keep.** Start recording before the footage begins, let it play through, then stop and save. 5. **Check and name the finished file.** Use a recognisable name such as Wedding-1998, then make another copy in a separate location.
Elgato also provides a specific OBS Studio setup guide for its Video Capture hardware on Windows. Follow instructions for your own device rather than treating settings from another capture card as interchangeable.
What if the tape looks dirty or damaged?
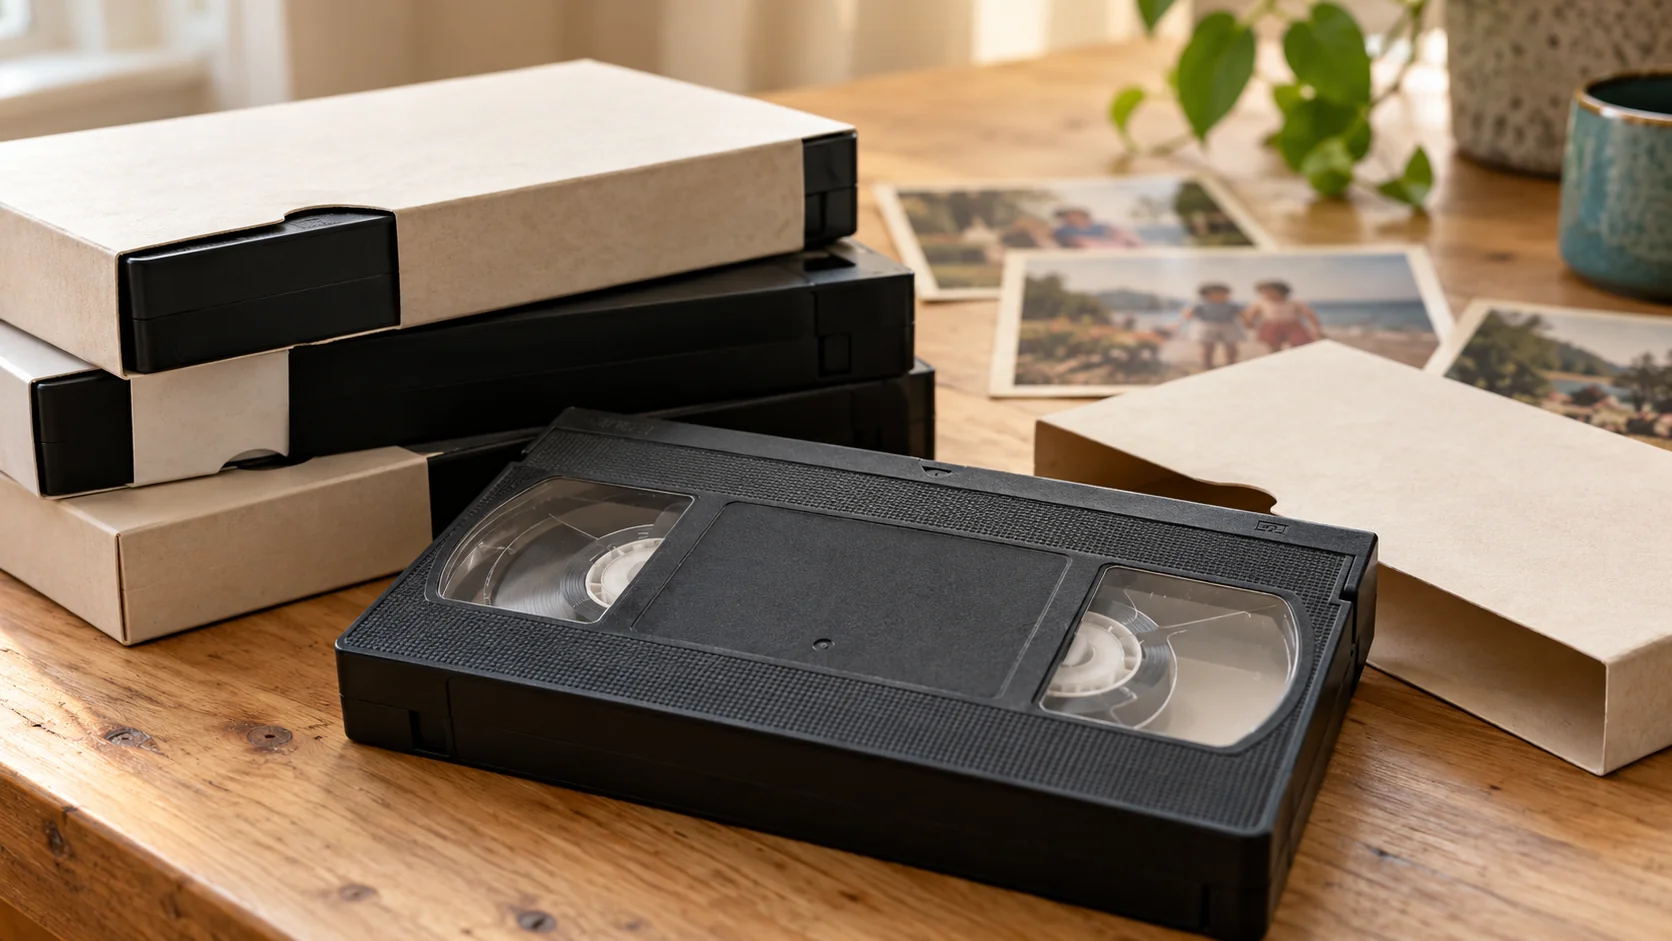
Pause before playback if you see mould, dirt, debris or damaged tape. The US National Archives advises seeking preservation guidance before playing visibly dirty recordings and recommends well-maintained equipment appropriate to the format. Do not attempt an improvised cleaning or splice on an important family recording.
Is DIY conversion the best option?
DIY can be a practical choice when you already have suitable equipment and are comfortable checking recordings. Allow time for setup, playback, checking files and organising backups. If you would need to source a player and capture equipment for a small batch, compare that effort with a transfer service before buying.
Rewind Digital offers VHS and VHS-C conversion in Tadcaster, with local drop-off and collection by appointment. Choose download delivery or optional USB, and use the current price list to compare your options.
Allow up to one week from your agreed drop-off; the completion date is confirmed with your quote. Mention any special deadline before booking.
Build your estimate and send a transfer request. We check format, condition, availability and the final quote before work begins.